Changing Discs
Pokie Parmidge
March 20, 2003
With the introduction of new and different wheels for the BMW Cruiser, more and more people have been asking me how to remove their old discs so that they can put them on their new wheels. I needed to change out my front wheel because of chrome problems, and changing the wheel was straight-forward except for the disc removal. The process is fairly easy with only one real secret--- heat! So if you need to remove your discs for any reason, here's the way I did mine:
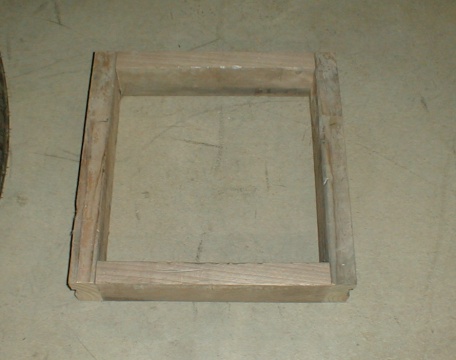
Knowing that I'd be laying the wheel down to get the discs off, I needed to make some sort of support for the wheel (I didn't want to damage the down-side disc). After removing the wheel, I made my support out of some scrap pieces of 2x4 that I had left over from a "home repair" job. The outside dimensions of my support frame are 16"x16". This way I will be supporting the wheel leaving the down-side disc well off the floor.
|
My 2x4 wheel support. |
The tools I used for this job:
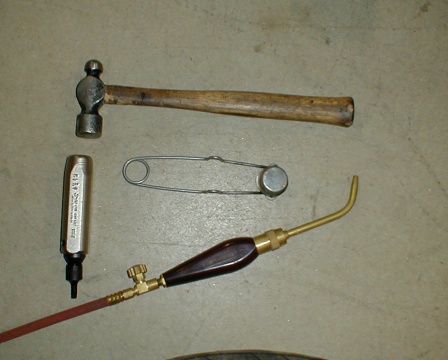 |
Most of the tools laid out for the job. |
Each disc is held on with five Torx bolts, each one being held in place with Loc-Tite. I look at removing each bolt as a small seperate job so-as not to feed a whole bunch of heat into the wheel hub. Before getting started, mark the direction of rotation of each disc with a felt marker. Assemble the Torx bit onto the hammer driver and set on the floor or bench beside the wheel along with the ball-peen hammer. Heat up the flange that the disc bolt goes into with the propane torch just enough so that when you spit on it, it immediately boils. This shows the flange is hot enough to have softened the Loc-Tite. Set the Torx bit into the heated bolt's head with the hammer driver attached. Twist the hammer driver counter-clockwise and rap it smartly with the ball-peen hammer. If heated properly, it should only take one rap to loosen the bolt. If too much heat is used, the paint on the hub will discolor. Unscrew the bolt (keep track of the shoulder washer and little spring washer under the bolt head as these will need to be reused) and set it in a box or somewhere you won't lose it. Using the same procedure, remove all the bolts.
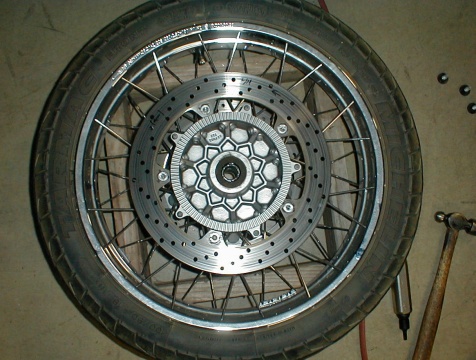 |
Wheel on the support frame ready for disc work. |
When all the bolts have been removed and all the washers accounted for, lift the disc away. With a rag or small stainless tooth brush, clean the back side of the disc at the mounting points so there is no chance of trapping any road dirt or corrosion between the disc and the new wheel. Use this same procedure to remove the other disc.
To remove the ABS ring, the procedure is basically the same as removing the disc. I have found that with the right amount of heat applied, (not so much as to discolor the paint) the screws will come out readily with a 3mm T-handle hex key.
No heat is necessary to fit the old discs to the new wheel. Lay the cleaned disc in place on the wheel hub (check the direction of rotation). Clean all the old Loc-Tite off all the bolts, assemble the washers onto the bolts and apply a drop of blue Loc-Tite (#243) on each one. Thread in all the bolts for the disc finger-tight only. Some adjusting of the disc will be required to start all the step washers into the disc. Snug down all the bolts using a cross pattern, making sure none of the spring washers have been trapped askew. If you have access to a torque wrench, torque the disc bolts to 24NM or 18 foot-pounds. If you don't have access to a torque wrench, tighten by hand then give a single rap using a hammer driver.
Fitting the ABS ring to the new wheel is just like putting on the disc. Make sure the back or mounting side is clean, and lay the ring on the hub. Clean all the old Loc-Tite off the threads of the bolts and apply a fresh drop of blue Loc-tite (#243) to each bolt. Thread in all the bolts by hand then tighten to about 7 foot-pounds or hand tight. Whenever the ABS ring has been removed and put back on, check the sensor gap and adjust if necessary.
Copyright © 2009 Pokie Parmidge